 There are hundreds of dissertations on this subject around the web. Many written by people far more qualified than I. However, since I’ve recorded 400+ different kits over the years, and customer satisfaction has generally been high… This is Part Three.
I Usually… One: Take a wide-ish band at 500Hz and cut it aggresively on the toms. This is the boxy tone that nobody misses.
I Usually… Two: That pesky energy node you’ll probably get on the toms at 200Hz isn’t going to go away unless you spend a month tuning… forget about it. Set a narrow band on the eq and try to notch it out either while recording or while mixing later.
I Usually… Three: Cut 100Hz or so on the kick drum. I know…I know… that’s the frequency that some people will tell you to boost, but it pushes to much energy into the compressor. You don’t have to get crazy, but as you drop this freq, you’ll hear some awesome sub tones 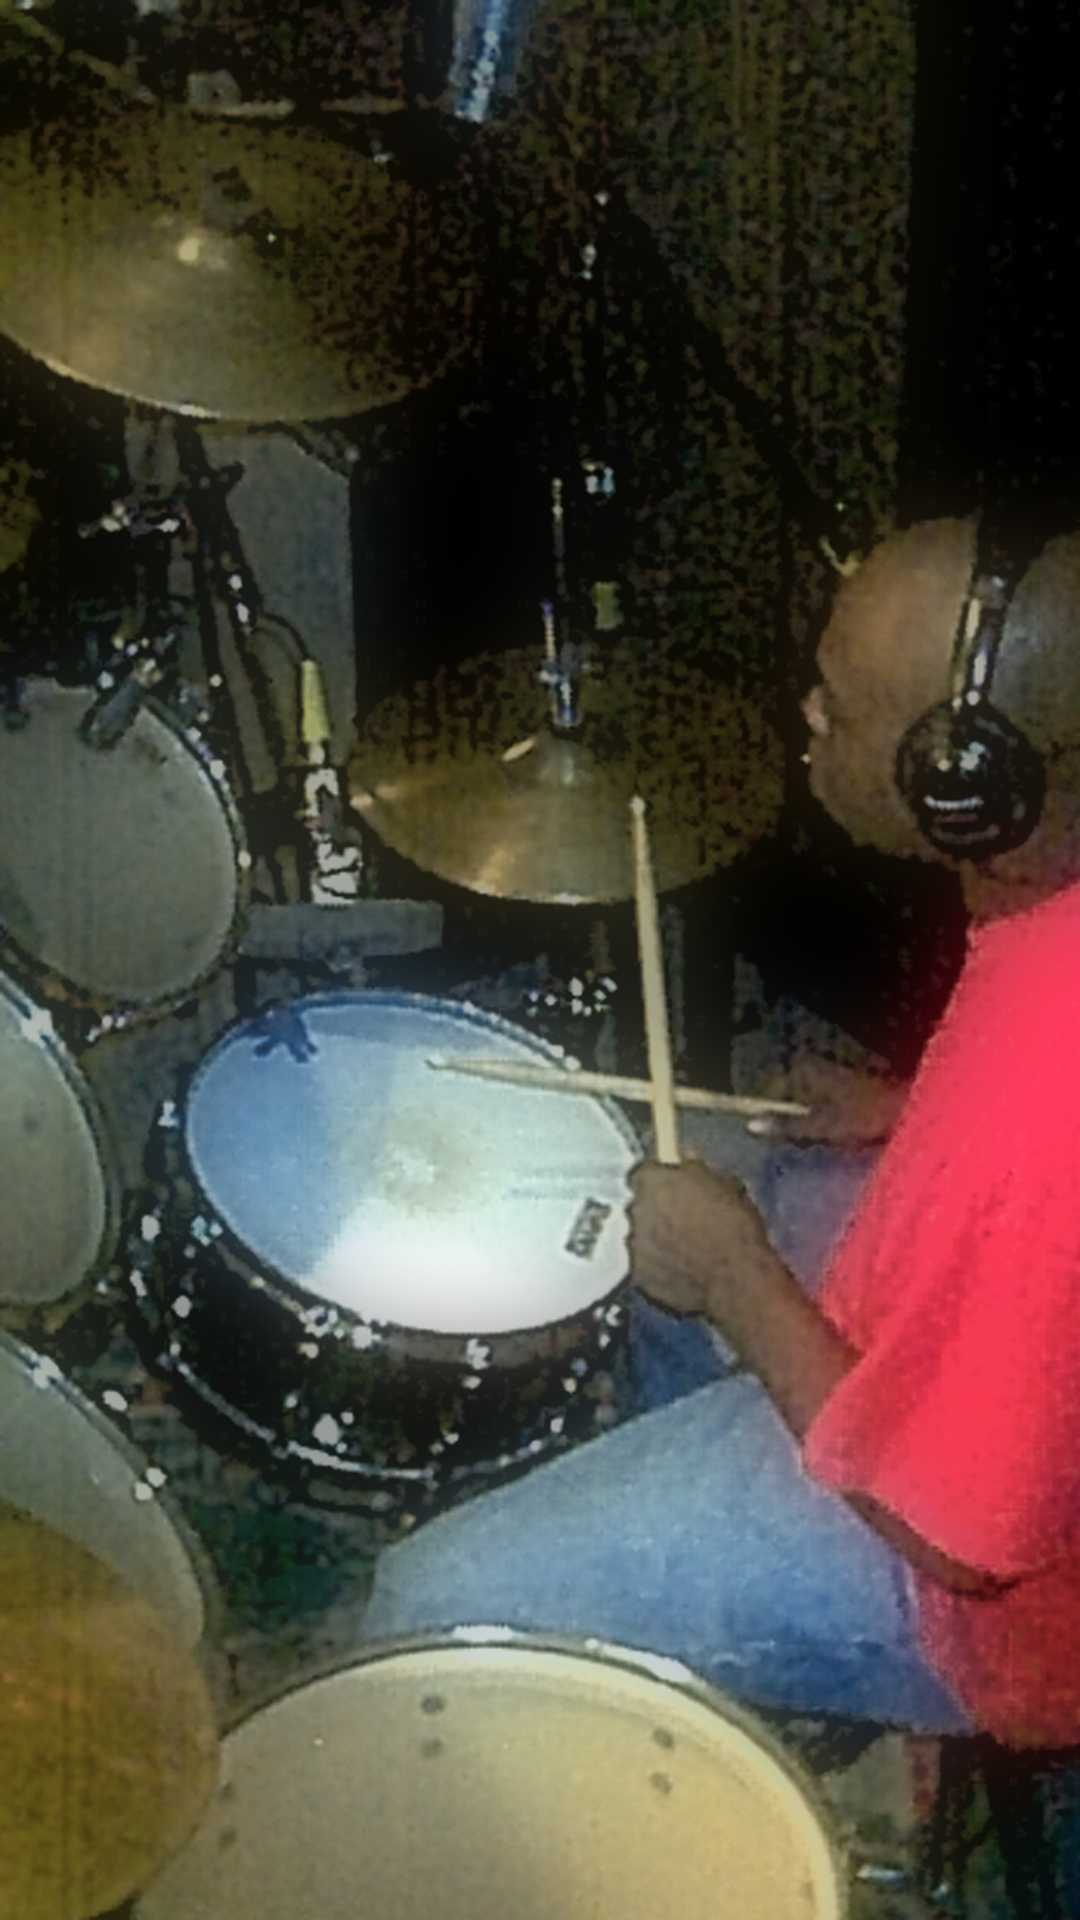 that seem to expand the size of the kick. You’ll also have to make a wide, gentle boost some place in the upper midrange to show the slap of the beater. If you hear a weird “clacking”, “beeping” or other unnatural sound, figure out the frequency and… notch it. I don’t usually boost any low frequency on the kick unless genre=metal then I’ll boost 44Hz a tiny bit with a more severe 100Hz cut.
I Usually… Four: Put some level of compression on all individual drums. Very light on the toms, a little more on the snare, and quite a bit on the kick. Yes, we’re shaping the tone, but we’re really looking for some level of consistency in volume across the kit.
Oh Crap! Too much cymbal: They’re in everything and if that weren’t bad enough they’re flanging because of the phase differences at each mic making the drums virtually unlistenable. Let’s figure out why.
- The room is usually the number one culprit. The cyms just seem to multiply everytime they’re struck. You’ll have to deaden the room or move the kit to a larger space.
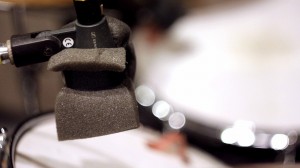
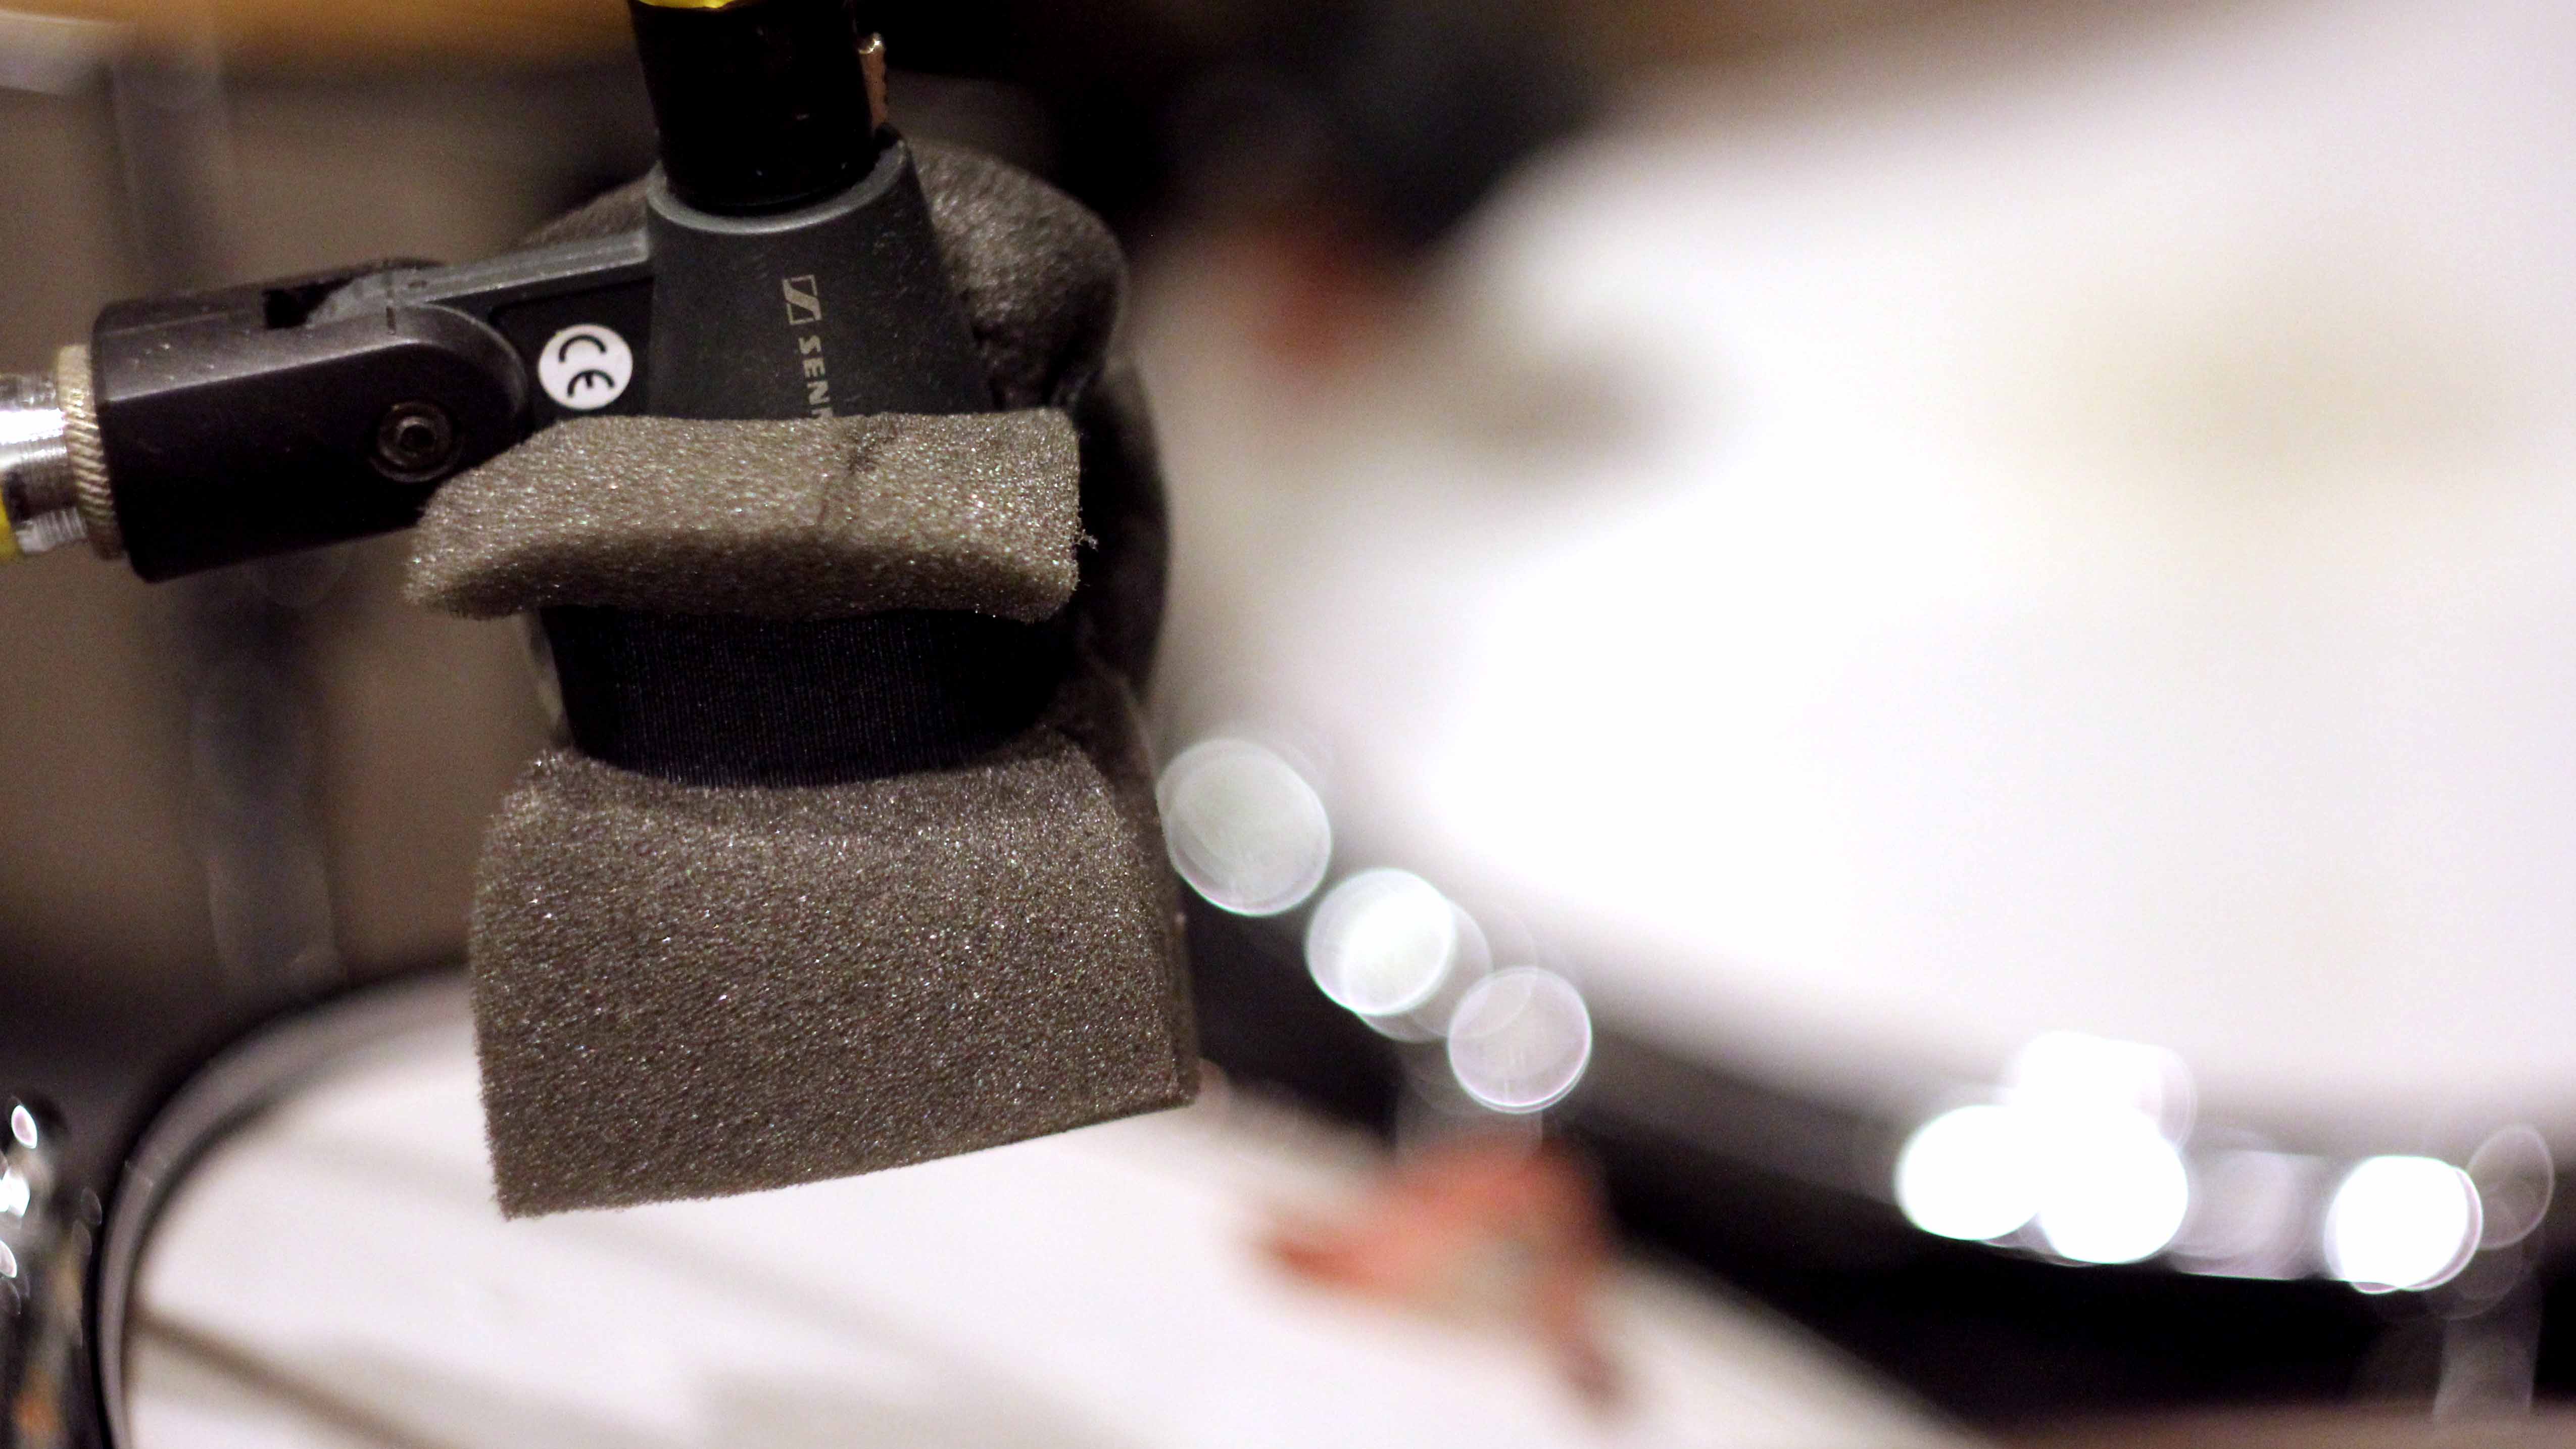
- Mic placement is usually the next bad guy. Solo each mic to find the trouble maker(s) and make adjustments in the way they’re placed. Crashes eat up tom mics and the ride is almost always facing the capsule of the snare mic. I’ve rubber banded pieces of foam to the sides of mics to help with this.
 but asking the drummer to either move his cymbals or change the way he/she plays may be the only way out. Depending on your situation, you may have to remove the offending cyms and have the drummer play them as overdubs. I’ve not done this, but it was common back in the day…
 - Make sure your overhead mics are in the best possible position to capture a balanced drum vs cymbal performance and as the drummer plays make sure that you sweep from pan to center (mono) to listen for phasing. Correct accordingly.
- I’ve found that almost all drum tracks have too much cymbal in the tom mics. I just mute the tracks in between tom strikes.
The Snare: Don’t over compress! Make sure you can hear enough snare band. Need more snare in the mix and pushing the volume doesn’t really help? Build a reverb that does it. There are tons of plugins that let you set early reflections, tune the verb, and simulate natural rooms and environments. These can/will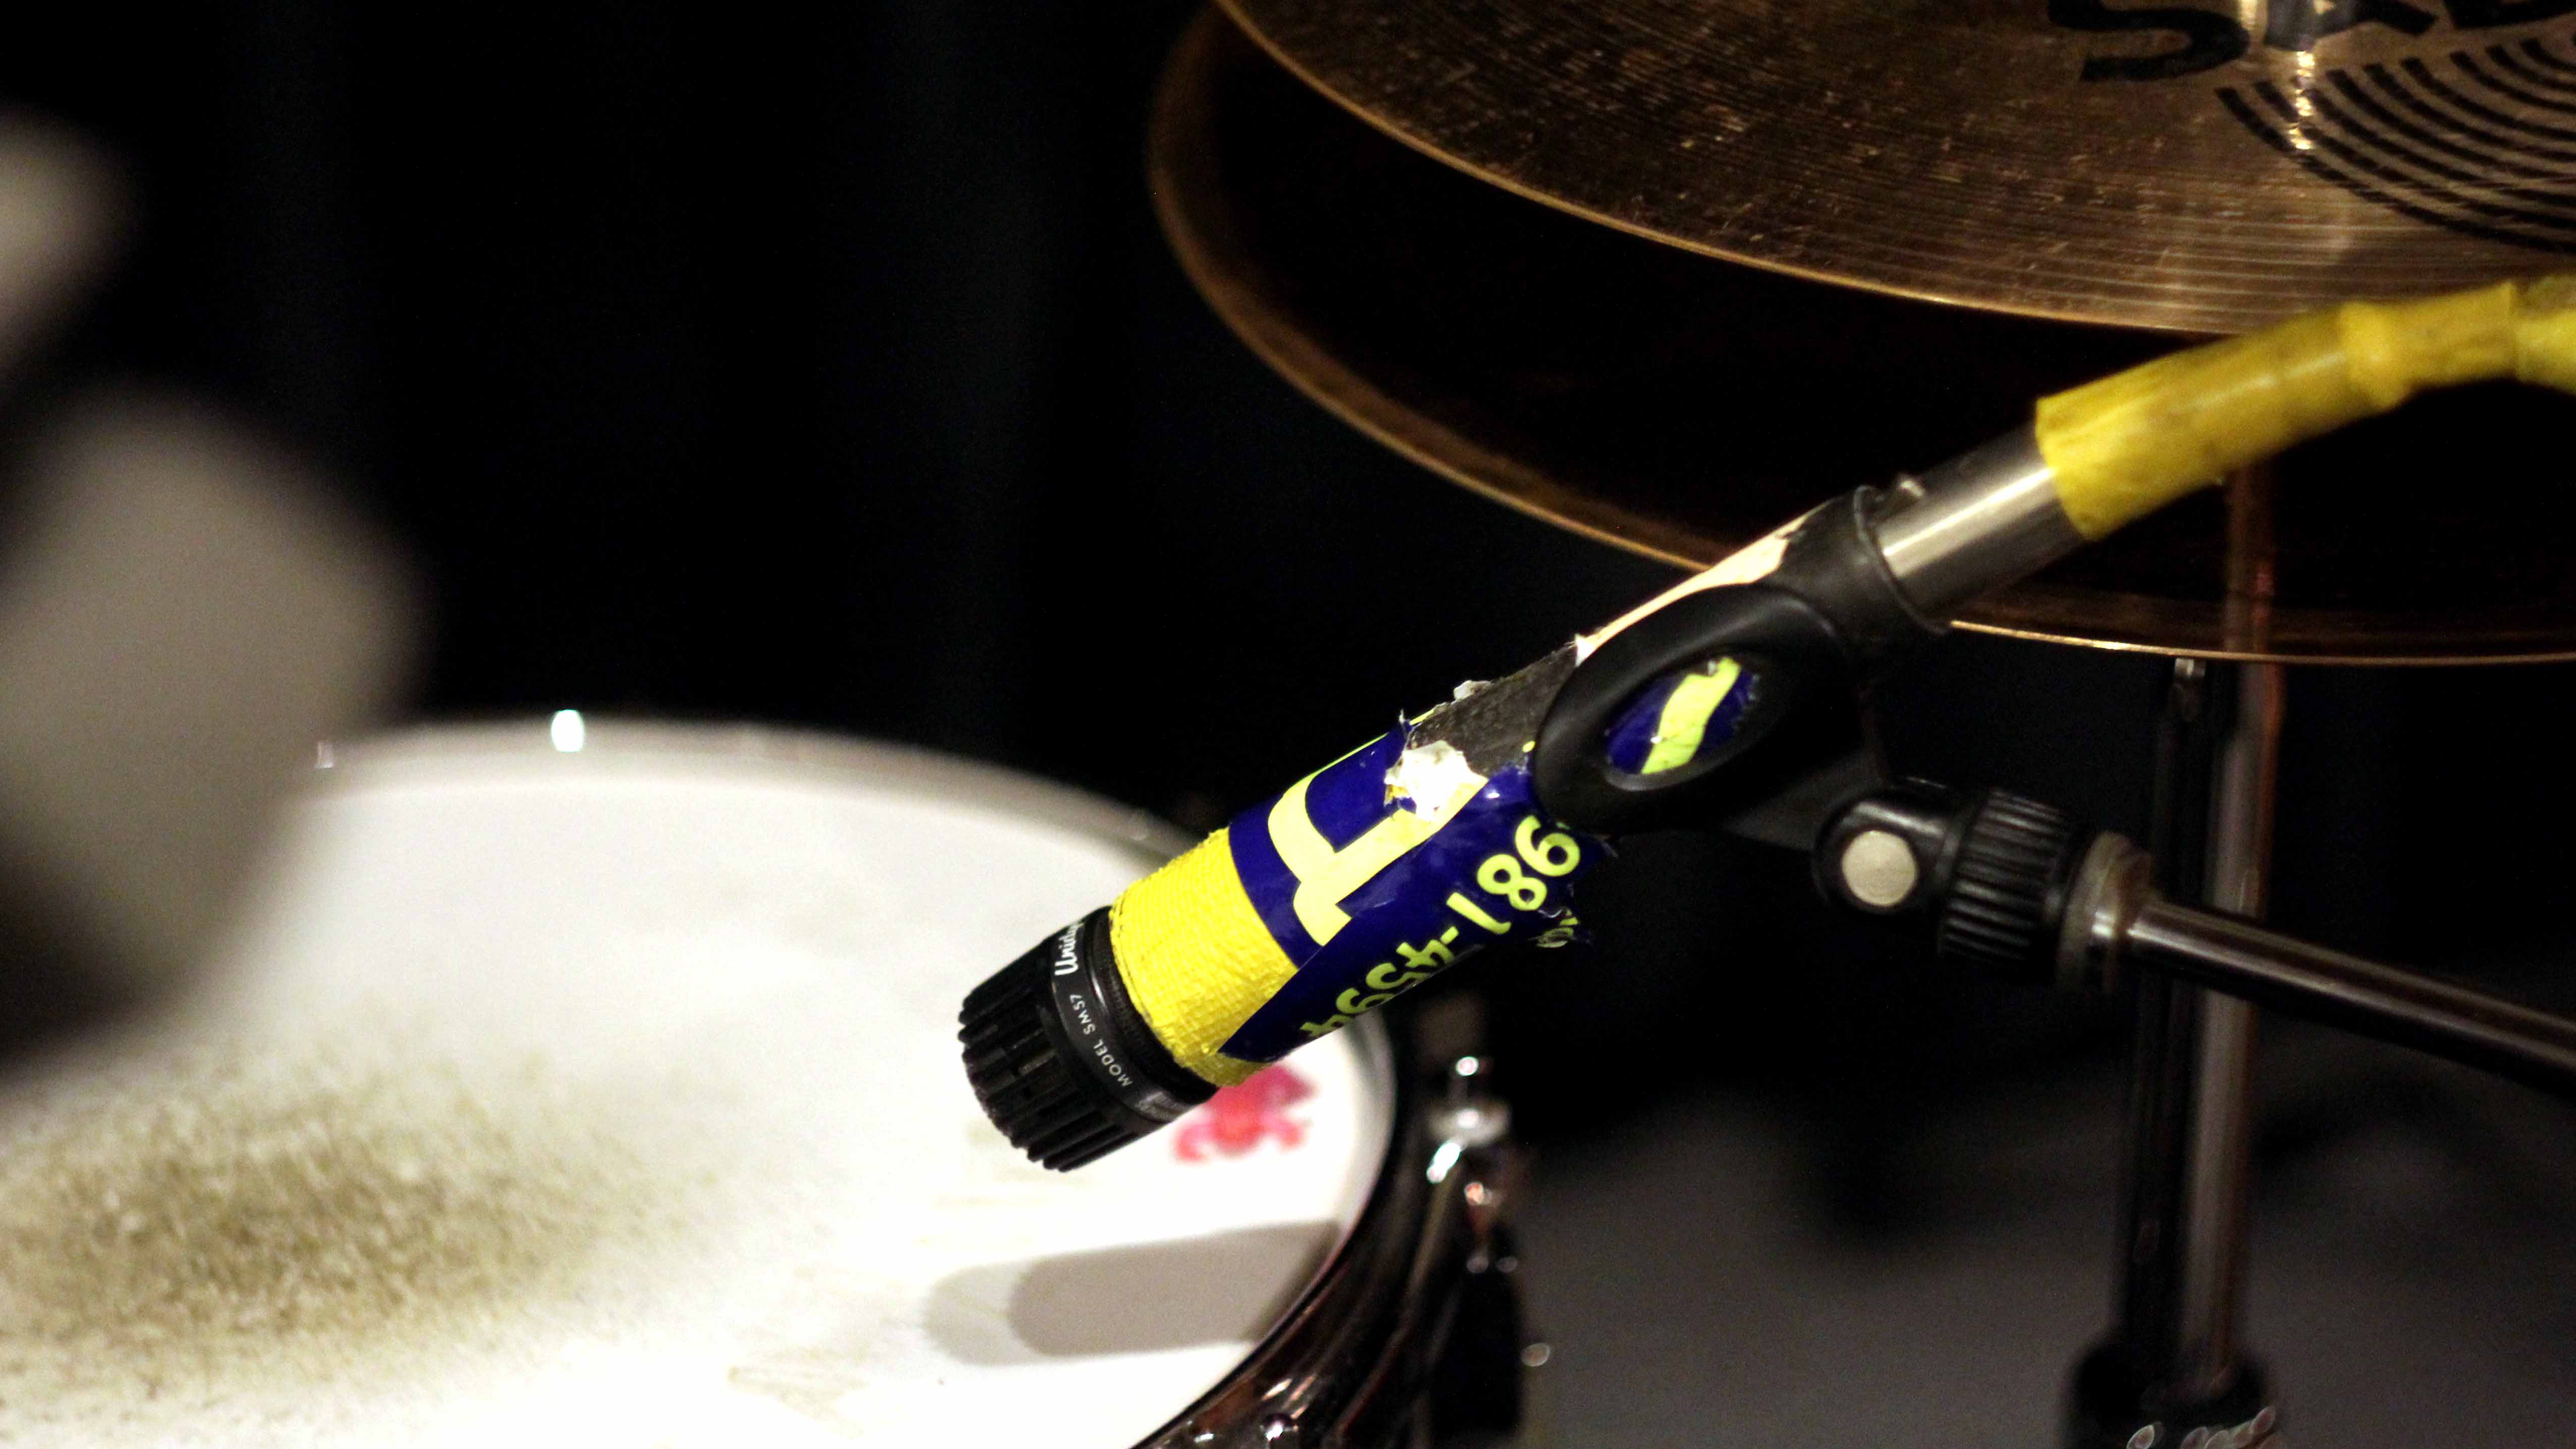 make your snare as big as you want it without sounding too reverb-y.
I don’t consider myself an expert, just someone who’s had the remarkable opportunity to mic a lot of drum kits. twenty years from now, there may not be many engineers around who will have recorded more than 10 kits. Music has changed. Anybody who’s used sample/replace software knows… but if you have a real band and a real drummer, who wants to hear real drums, mic’ing is easy… Part One. or Part Two.

[…] I actually use little frogs that I bought at a party store which are made out of the same stuff. Part Three. or back to Part […]